
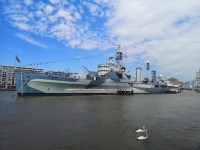
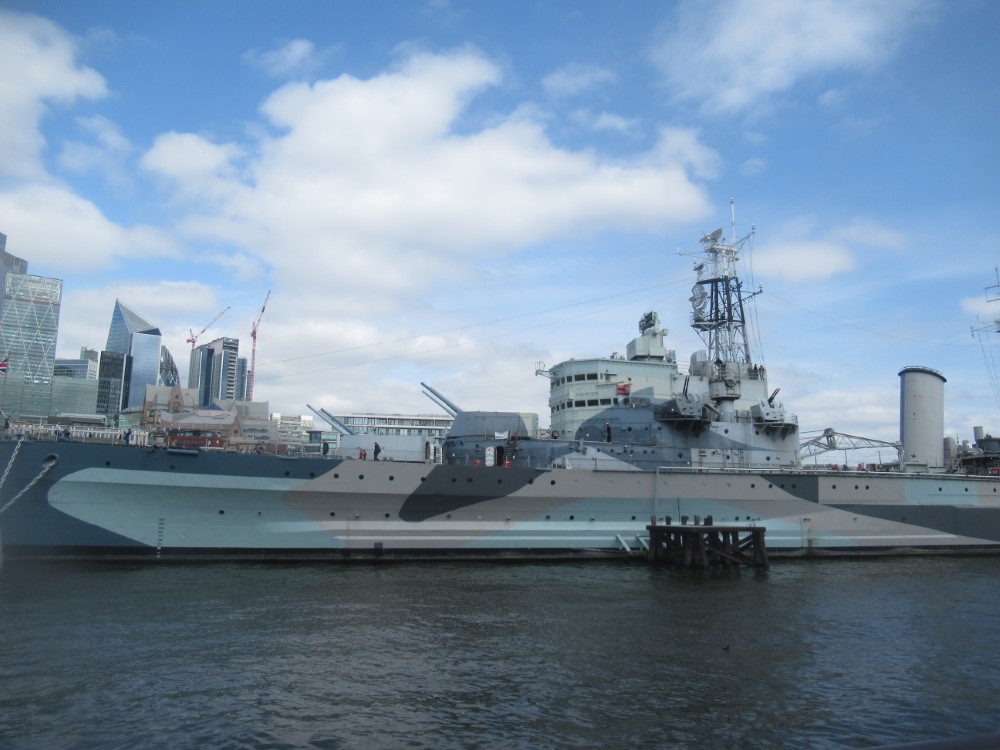
Access Guide
Getting to HMS Belfast and Getting Help and Assistance
- For information about getting to HMS Belfast and getting help and assistance please click here (opens in new tab).
HMS Belfast - Decks 2 and 1
- For information about Decks 2 and 1 please click here (opens in new tab).
Audio Tour - 1 to 5
- After collecting your Audio Guide from the ticket office in the Pavilion, Audio Guide Point 01 is located along the gangway to the ship, the gradient of the gangway slope depends on the level of the tide.
- The route from Audio Guide point 01 to 02 moves along the gangway towards the ship, there is platform lift which overcomes the steps onto the outer deck, the route goes along the portside outer deck and into the inner deck. There is step-free access along the corridor.
- There is step-free access along the deck.
- There is a hatch which leads from the outer deck to the inner deck.
- The hatch is permanently held open and is 75cm wide.
- Audio Guide point 02 is located ahead after you enter, after the Regulating Office. Audio Guide point 02 is Life on Board.
- The route from Audio Guide point 02 to 03 moves along the deck corridor.
- There is step-free access along the corridor.
- There is clear signage along the corridor.
- The narrowest width of the corridor is 85cm.
- Along the route there is a D Day information board and a torpedo.
- The laundry is located to the left of the corridor.
- There is a hatch into the laundry.
- There is a 25cm seal in the hatchway that must be stepped over to enter the laundry.
- The laundry can be seen from outside the room.
- There are background noises of a working ships laundry.
- The laundry is exited via the same hatch.
- Audio Guide Point 03 is located to the left after exiting the laundry and along the deck corridor.
- Audio Guide Point 03 is the Mail Room.
- There is no access into the Mail Room, and it is viewed from the corridor.
- There is a metal barrier in the doorway.
- The height of barrier is 85cm.
- The route from Audio Guide point 03 to 04 moves along the deck corridor.
- There is step-free access along the corridor.
- Along the corridor the route passes another room which cannot be entered, which can be viewed from the Hatchway.
- Audio Guide Point 04 is Feeding the Crew.
- Along the walkway between points 04 to 05 the corridor passes the Bakery, The Senior Rating Mess Desk and The Galley.
- The access into the Bakery is a hatch with a seal which must be stepped over, the height of the seal is 14cm. The Bakery can be seen from the outside.
- The access into the Senior Rating Mess Desk is accessed via a permanently held open door, which is 65cm wide. There is a seal in the door which has to be stepped over, the height of the seal is 14cm.
- There is an information video played in the room with bench seating.
- The access into the Galley is via a hatch with a seal which has to be stepped over, the hatch is permanently held open and has an opening of 60cm. The height of the seal is 16cm.
- There is seal between the first gallery and second galley area, which must be stepped over, the height of the steal is 11cm.
- There are 4 information touchscreens located within the galley, the height of the touchscreen controls ranges from 90cm to 100cm.
- There are background noises of a working ships Galley.
- There is a separate exit from the galley, the exit is like the entrance, with a seal that needs to be stepped over.
- Audio Guide point 05 is located to the right after exiting the galley.
- The step free route from Audio Guide point 04 to 05 moves back along the deck corridor.
- There is step-free access along the corridor.
- Audio Guide Point 05 is the Lower Decks.
- Access from Audio Guide Point 05 to 06 is via the Engine Room which is ladder only access.
- Step free access from Audio Guide 05 to 06 is going back along the corridor past Audio Guide Point 03 and turning right.
Audio Tour - 6 to 8
- The route from Audio Guide Point 06 to 07 moves along the deck corridor (passing Audio Guide Points 03 and 04). There is step free access along the corridor.
- Audio Guide Point 07 is Fighting Fit.
- The Sickbay is located after the Audio Guide Point 07.
- The Sickbay is located to the right of the corridor.
- There is a hatch into the Sickbay.
- The hatch is permanently held open and has an opening of 135cm.
- There is a 10cm seal in the hatchway which must be stepped over to enter the Sickbay.
- Some of the Sickbay can be seen from the outside.
- There are background noises of a working ships Sickbay.
- There is an information video about the Korean War in the Sickbay with subtitles.
- The exit from the Sickbay is via the entrance.
- After exiting the Sickbay, the route from Audio Guide Points 07 to 08 is along the corridor turning left at the sign for Audio Guide Point 11.
- Audio Guide Point 08 is located at the rear of the corridor passing World of Warships and Sailing the Seven Seas.
- Audio Guide Point 08 is the Lower Decks.
- There are two ladders leading down to Audio Guides Points 09 and 10 which are located on the lower decks.
- There is step free access from Access Guide Point 08 to 11 by going back along the corridor.
Audio Tour 9 to 10 - Deck 4 via Ladders
- Audio Guide Point 09 - Ripped Open by the Mine and Audio Guide Point 10 - The Lower Steering Position are located on Deck 4. There are only ladders down to Deck 4. If this area is not accessible, please return along the corridor to Audio Guide Point 11.
- The ladders to access Deck 4 are located next to Audio Guide Point 08. At Audio Tour Point 11 turn left and follow the corridor, past the World of Warships and Sailing the Seven Seas exhibitions.
- There are two sets of ladders leading down to Deck 4.
- The ladder has handrails on both sides.
- There are gaps between each step.
- The ladder must be used facing forwards.
- There are seals located along the corridor in places that must be stepped over.
- Audio Guide Point 09 Ripped Open by the Mine is located along the corridor before the Lower Steering Position Exhibition.
- The exhibition has information videos with subtitles, information boards and there is an interactive attraction of steering the ship.
- Audio Guide Point 10 – The Lower Steering Position is located after the exhibition area.
- After The Lower Steering Position there are two sets of ladders leading back to Deck 2.
- The ladder has handrails on both sides.
- There are gaps between each step.
- The ladder must be used facing forwards.
Audio Tour 11 to 17
- The route from Audio Guide point 11 to 17 moves along the deck corridor.
- There is step-free access along the corridor.
- Audio Guide Point 11 is A Happy Ship.
- The route along the corridor passes Audio Guide Point 14, Home from Home.
- Audio Point 12 is the Provision Issue Room. It is located to the right of the corridor.
- There is no access into the room, and it is viewed from the corridor.
- There is a window to look into the room.
- The height of the window is 85cm.
- Audio Guide Point 13 is Shell Room and Hoist, there is a viewing window down into the Shell Room.
- There is only ladder access down into the Shell Room, where there is also another Audio Guide Point 13, which plays the same information.
- There are two sets of ladders down to the Shell Room and two sets of ladders back up to the main decks.
- Audio Guide Point 14 Home From Home is located back along the corridor.
- There is step free access along the corridor.
- The route from Audio Guide point 14 to 15 moves along the deck corridor.
- There is step-free access along the corridor.
- Audio Guide point 15 is Recreation within the East Asia Mess Decks.
- Audio Guide point 16 is Artic Mess Decks.
- There are long tables with bench seating in both the Mess Decks areas.
- The height from the floor to the underside of the tables is 71cm.
- There are information boards on the tables and information videos.
- There is an information video with subtitles located on the opposite side of the room to the Artic Mess Decks.
- Audio Tour Guide Point 17 is the Capstan Flat and Punishment Cells. Is it located at the rear of the Mess Decks.
- The room is accessed via a permanently held open 90cm wide hatch.
- The hatch is 76cm from the floor.
- There are handrails at the top of the hatch.
- There is a step up on to the hatch which is 35cm from the floor.
- There is a walkway through the room.
- The height of the metal barrier is 100cm.
- The exit from the room is back through the hatch.
- After Audio Guide Point 17 either follow the corridor to the Ladder up to Deck 1 or to the lift to Deck 1.
The "B" Shell Room and Hoist - Deck 4 via Ladders
- The "B" Shell Room and Hoist and is located on Deck 4. There are only ladders down to Deck 4. If this area is not accessible, There is Audio Tour Point located on Deck 2 which provides information about The "B" Shell Room and Hoist
- The ladders to access Deck 4 are located along the corridor.
- There are two sets of ladders leading down to Deck 4.
- The ladder has handrails on both sides.
- There are gaps between each step.
- The ladder must be used facing forwards.
- There is step-free access along the Deck 4 corridor to the "B" Shell Room and Hoist.
- The walkways around the Shell Room are narrow.
- There are two permanently held open hatchways leading between the two shell rooms.
- There are 30cm and 20cm seals in the hatch ways which must be stepped over.
- There is a video with subtitles in the second shell room.
- After the second shell room there are two sets of ladders leading back to Deck 2.
- The ladder has handrails on both sides.
- There are gaps between each step.
- The ladder must be used facing forwards.
Ladder - Deck 2 to Deck 1
- The ladder to access between Deck 2 and 1 is located along the ship’s corridor near Audio Guide point 14.
- The ladder has handrails on both sides.
- There are gaps between each step.
- The ladder must be used facing forwards.
- There are also ladders located on the outer deck.
Lift (Deck 2 to Deck 1)
- There is a lift for public use.
- The lift is located along the Deck 1 internal ship corridor near Audio Guide point 4.
- Signs indicating the location of the lift are not available from the entrance.
- The lift is a platform lift.
- A member of staff does not need to be notified for use of the lift.
- The floors which are accessible by this lift are Deck 1 to Deck 01.
- Clear signs indicating the facilities on each floor are not provided on lift lobby landings.
- There is a clear level manoeuvring space of 150cm × 150cm in front of the lift.
- Lift doors do not contrast visually with lift lobby walls.
- The external controls for the lift are within 90cm - 110cm from the floor.
- The colour contrast between the external lift controls and the control plate is poor.
- The colour contrast between the external lift control plate and the wall is good.
- The clear door width is 85cm (2ft 9in).
- The dimensions of the lift are 84cm x 125cm (2ft 9in x 4ft 1in).
- There are not separate entry and exit doors in the lift.
- There is not a mirror to aid reversing out of the lift.
- There is not a list of floor services available within the lift.
- The lift does not have a visual floor indicator.
- The lift does not have an audible announcer.
- The internal controls for the lift are within 90cm - 120cm from the floor.
- There is not a hearing loop system.
- The lift does not have Braille markings.
- The lift does not have tactile markings.
- The lighting levels in the lift are low to moderate.
Audio Tour 18 to 19
- The route from the lift to Audio Guide point 18 moves along the Deck 1 walkways.
- This part of the ship is not sheltered so the surface of the deck may be slippery if it is raining.
- There are some raised metal works in places along the deck, but these can be bypassed.
- There are paths on both the portside and starboard side which both lead to Audio Tour guide point 18.
- Audio Guide point is the A Turret. It is located at the front of the ship.
- Access to the Turret is via a permanently held open hatch which has a 53cm opening.
- There are two steps without handrails leading up to the Hatch.
- There is 27cm seal in the hatch opening which must be stepped over.
- There is step-free access once inside the Turret.
- The exit from the Turret is via the entrance hatch.
- The route from Audio Guide point 18 to 19 moves along the deck corridor.
- There is step-free access along the deck.
- Audio Tour point 19 is the Fo'c'sle.
- The Fo'c'sle is located the front of the ship.
- There is a short steep ramp onto the Fo'c'sle.
- There is step-free access onto the Fo'c'sle.
- The exit from the Fo'c'sle is via the same ramp.
HMS Belfast Decks - 01, 02, 03 and 04 Audio Tour 20, 21, 22, 23, 24 and 25
- After Audio Tour point 18 the Audio moves up to Decks 01 to 04. There is only ladder access to these decks. For more information about this part of the audio tour please click here (opens in new tab).
Audio Tour 26 to 29
- There is a ladder leading down from Audio Tour point 25 down to Audio Point 26.
- Alternatively, the access to Audio Tour Point 26 from Deck 1 is via a hatch located of the main deck.
- The hatch is permanently held open and has an opening of 75cm.
- There is a 10cm step located along the internal corridor leading to point 26.
- The narrowest width along the corridor is 65cm.
- Audio Tour Point 26 is the Walrus Hangar and is located along the corridor.
- There is no access into the room, and it is viewed from the corridor.
- There is a metal barrier in the doorway.
- The height of barrier is 110cm.
- The exit from the Audio Point 26 is via the entrance.
- The route from Audio Guide point 26 to 27 is along the main deck. There is step-free access to 27.
- Audio Guide point 27 is the Boat Deck.
- The route from Audio Guide point 27 to 28 is along the main deck. There is step-free access to 28.
- Audio Guide point 28 is the 4-inch HA/LA Guns. There is step-free access near the guns.
- There is seating available on the boat deck.
- There are videos near Audio Guide point 28.
- The route from Audio Guide point 28 to 29 is along the main deck. There is step-free access to 29.
- Audio Guide point 29 is "Thank You for Visiting".
- After Audio Guide point there is a ladder back down to Deck 2. Alternatively, the ramp can be used to get back down to Deck 2.